A local development server is a server that is locally hosted on one’s computer by developers and is used to store and test the web pages that have server-side scripting codes. Before we learn how to install Xampp in Windows 10, let us understand the meaning of Xampp.The abbreviations stand for:
X=Cross-platform,
A=Apache server,
M=Mysql,
P=PHP,
P=Perl programming language.
Xampp is an open-source Apache server that is developed by Apache friends which one can install in a pc and do the development through the localhost.

Step 1
Visit the official xampp site and choose the appropriate xampp version according to your processor capability. The processor capability is 32-bits or 64 -bits. In this article, we are showing how to install Xampp in Windows 10, 64-bits.
step 2
Double click on the installer, to install xampp .Allow installation as the administartor .
![]()
step 3
Click next to continue set up.
step 4
Select components. I will go with the default components.
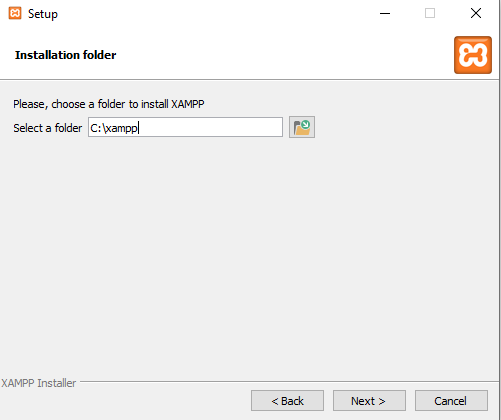
step 5
Click next and choose installation folder.
Step 6
Click next and set up language.
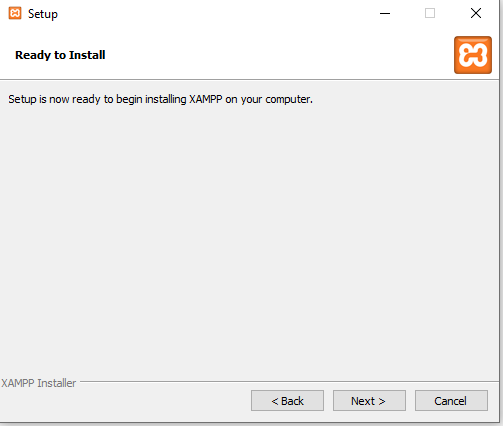
Step 7
Click next to allow set up.
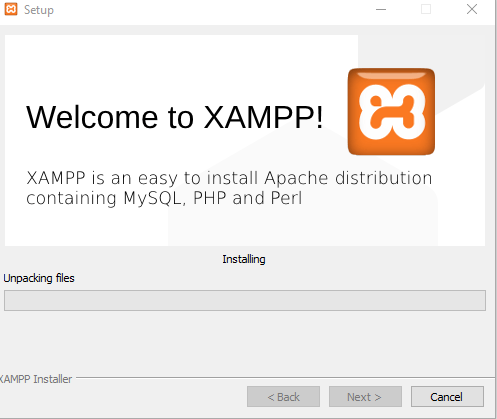
Step 8
Wait for the application to unpack files and click next.
Step 9
Click finish to finish set up.
Step 10
Access xampp control panel through the browser.
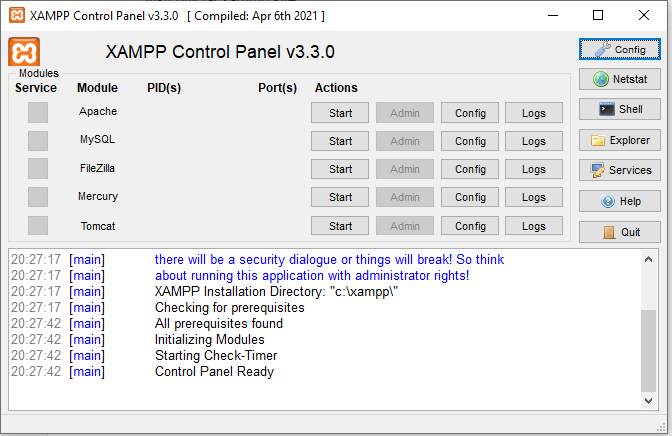
step 11
Start service and Check if xampp is successfully installed by typing local host on the browser.
Step 12
Fix the Error by installing jdk and running the application as an administrator.
Step 13
Re-check if xampp is successfully installed by typing local host on the browser.


